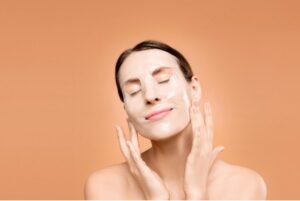
The facial is one of the most unwinding and sumptuous things that you can do for yourself. Many of us have to deal with ourselves and destress like never before. However, it’s unrealistic to book a meeting with your preferred esthetician for an expert facial. Fortunately, it’s as yet conceivable to give yourself a spa-quality facial at home.
No lady can ever say NO of a decent hour of facial and spa time! The multistep facial treatment scrubs up your skin, invigorates skin cells, hydrates, and supports it in this manner giving you more youthful-looking, brilliant skin. The way that it diminishes pressure and makes skin gleam like a bulb is simply astounding.
We don’t generally get time to get a facial because of tumultuous timetables and steady bothering around. Now, It’s time to get some minutes for self-care and pamper your saggy skin.
Step By Step For Facial at Home
Ready for a spa-style facial? Pull your hair away from face and toss it in a headband. Follow these 7-step home facial strides to pull off a salon-like facial at home and get the astonishing shining skin you’ve been aching for.
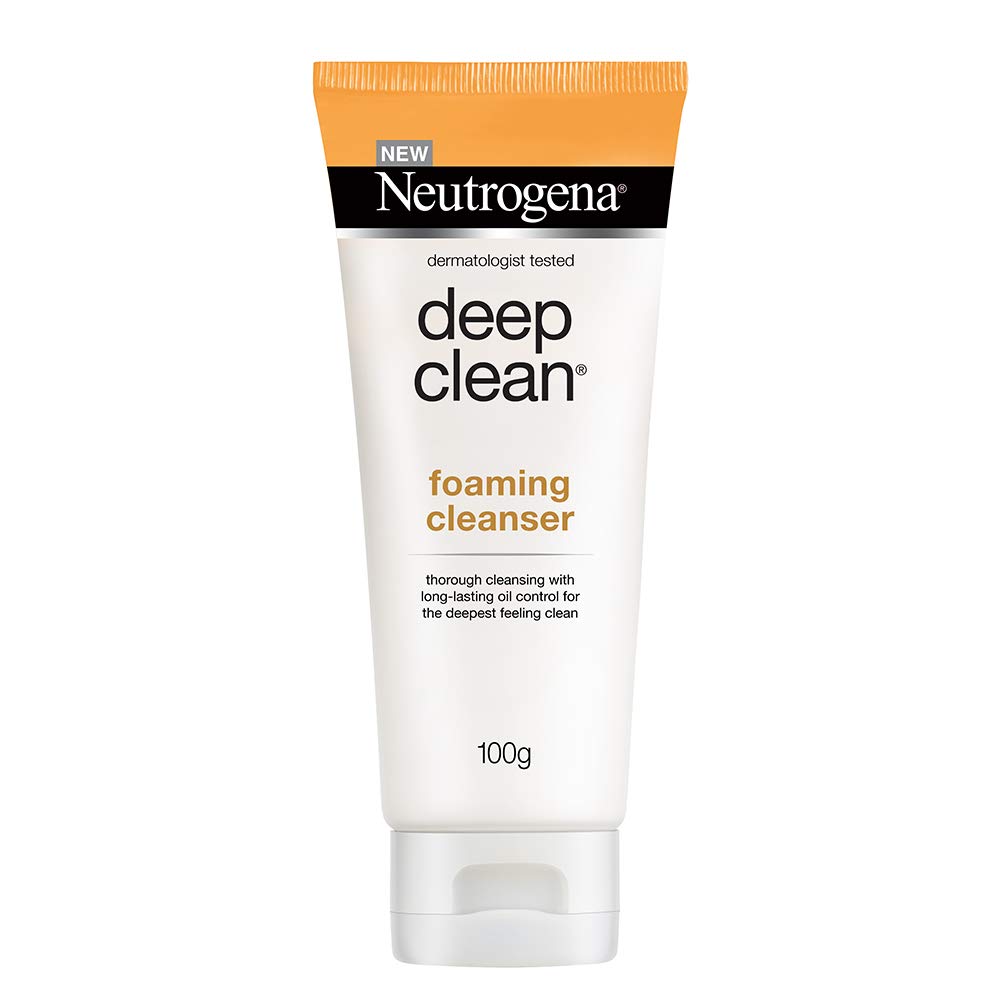
Step 1: Cleanser

The first at-home facial steps include cleansing your face, which is a crucial part of any kind of skincare routine. When your face disposes of dirt, overabundance oil, and cosmetics, then you are prepared to nourish your skin with additional consideration. Purifying likewise helps in setting up your skin to respond positively to the ingredients that you are going to nourish it with.
- Select a conditioning facial cleanser according to your skin types.
- Take a small amount of your facial cleanser on your palm and gently rub it in an upward circular motion on the face.
- Wash with cold water and pat dry.
Step 2: Exfoliate Your Face

Exfoliating is another extremely important step that must be in the skincare routine. What’s more, here you will do facial at home, so how might you avoid this progression. Exfoliating your skin helps eliminate and remove dead skin cells that clog your skin pores and be a reason behind undesirable pimples and skin issues.
Gently scrubbing helps in instantly brightening your face by revealing the younger and healthier layers of your skin. You should always go for a natural face scrub like oatmeal scrub and mask or energizing coconut & coffee scrub that is enriched with natural ingredients and not with the chemical. It is advisable to exfoliate your skin at least once a week.
- After cleansing your face, select an exfoliator that is appropriate and suitable for your skin type.
- Take a coin-sized amount of your exfoliator on your palm and gently rub it in an upward circular motion onto your skin.
- Gently scrub for a couple of minutes.
- Wash the exfoliator off with cool water and pat dry your face with a soft towel.

Step 3: Get Facial Massage
You can’t miss this facial massage step in the facial at-home process. Massaging your face will increase blood circulation and improving muscle tones, which keeps skin splendid and smooth.
- After exfoliating your face, select a facial oil or facial massage cream as per your skin type.
- Take a small amount of facial massage cream or facial oil on your palm.
- Start with the middle of your forehead and massage in a circular motion and in an upward direction.
- Don’t miss your lips, chin, jawline, and neck.
- Keep massaging your face for 10-15 minutes.
- Wash your face with normal water or lukewarm water.
You can also use olive oil, coconut oil, or jojoba oil for face massage according to your skin type. We recommend olive oil or almond oil for the normal skin type, coconut or argan oil for dry skin, jojoba oil or aloe vera gel for oily skin and acne-prone skin.
Step 4: Get Some Steam In
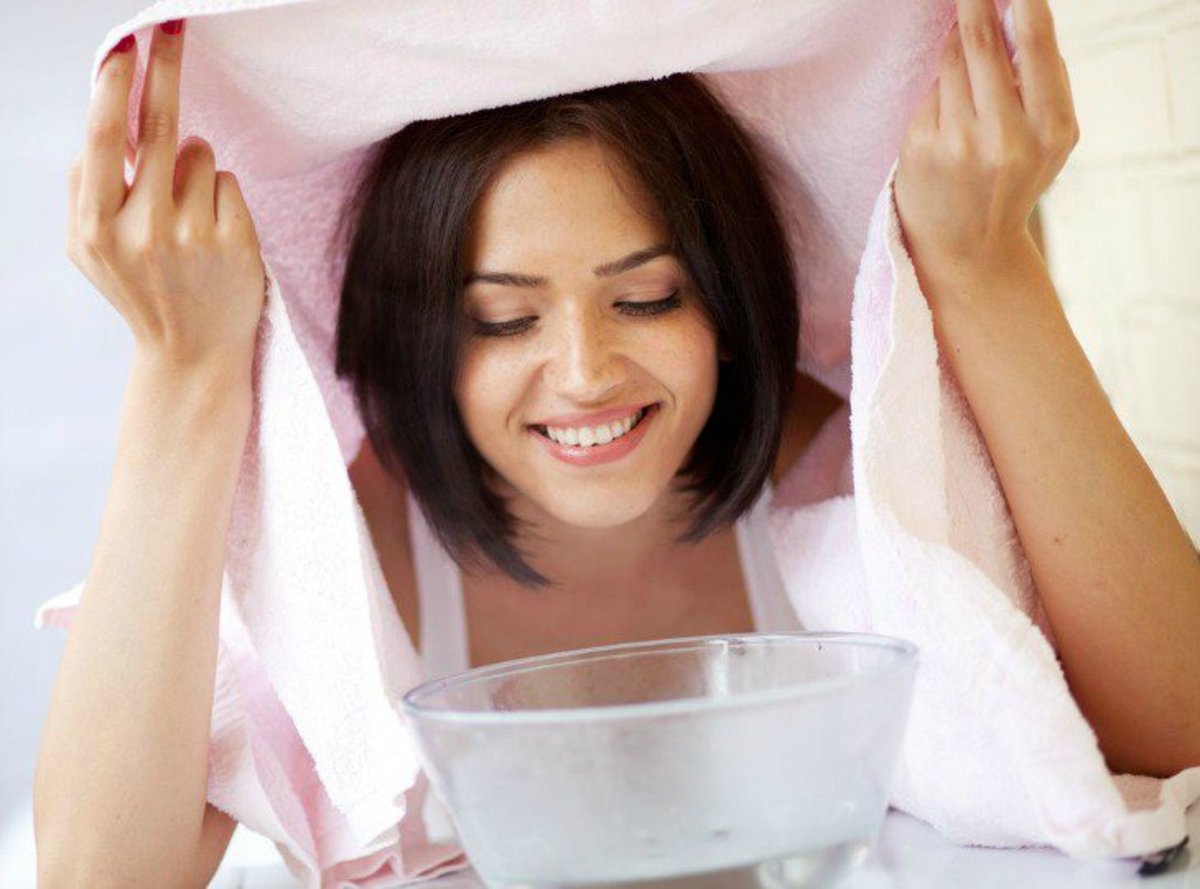
Steam is the best step-at-home facial as it helps in relaxing your skin and open up your clog pores and also helps in making your skin flawless. The steam process permits your skin to deliver toxins from the skin and make your skin to absorb all the integrity that the facial brings to the offer. Just follow the instructions listed below to safely steam your face and avoid unwanted burns on the skin.
- Take hot water in a bowl.
- Spot a towel over your head and get closer to the pot, so the towel makes a tent to hold the steam.
- Get steam for 5-10 minutes.
Step 5: Apply Your Face Mask
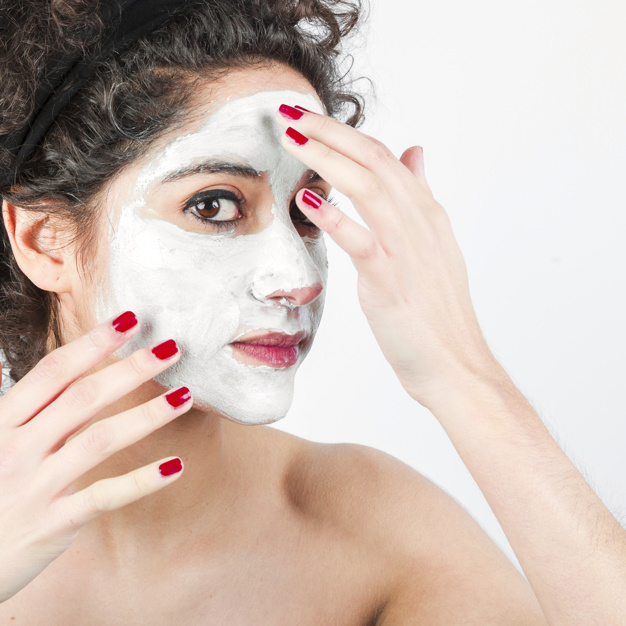
After steaming your face, it’s an ideal opportunity to give some nourishment to the skin. Face masks boost skin the boost it needs to stay healthy and look radiant at once. Likewise, Pollution, Sunlight, and synthetic substances have the ability to harm your skin and can dull it down and make it look age rashly.
Face masks help to counter these factors and keep your skin well-nourished and youthful than your age. The best thing about face masks is that you can get as per your skin needs. Many options are available in online and offline mode. You can also go for a DIY face mask.
- Pick a face mask suited to your skin and can help address any skin issues that you have.
- Evenly spread the mask onto your face in a thin layer. Abstain from applying excessively near your eyes or your mouth.
- After 15-20 minutes, remove the mask off with cool water.

Step 6: Apply Toner
Toning is also very important in facial steps. Since your face has absorbed all the decency of the face mask you applied, the time has come to seal your pores to get any dirt or toxins far from settling in your skin. Toners help in eliminating any residual dirt from the face while fixing your pores. A toner additionally helps make your skin more spongy to hydration and take care of noticeable pores and skin break out issues.
- Pick a pore fix toner according to your skin type.
- Take a cotton cushion and use it to apply the toner evenly onto your face. Avoid contact with eyes.
- With the cotton pad will help spread the toner and also helps in removing residual dirt.
- Let the toner dry naturally.
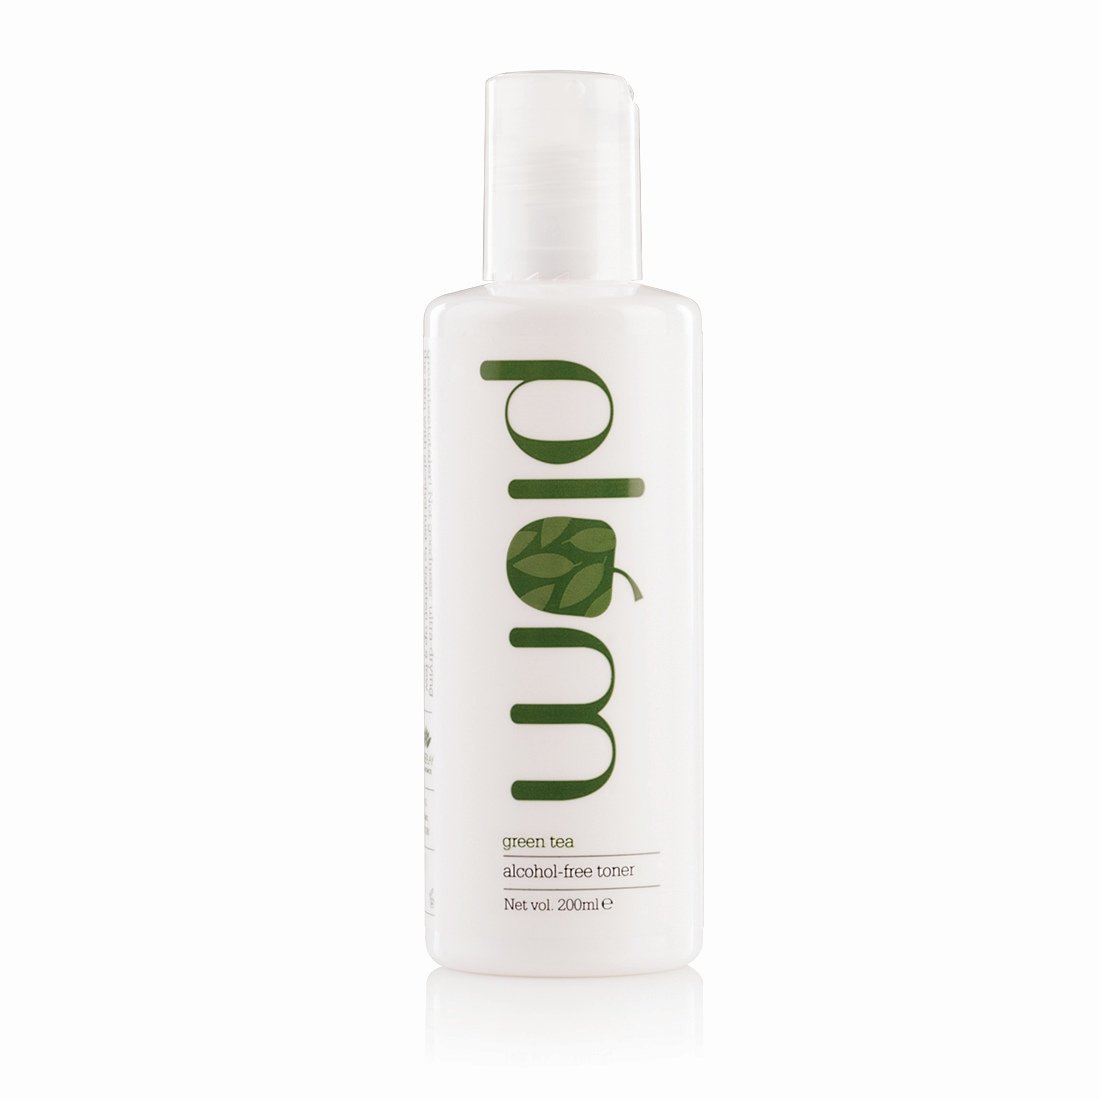
Plum Green Tea Alcohol Free Toner,
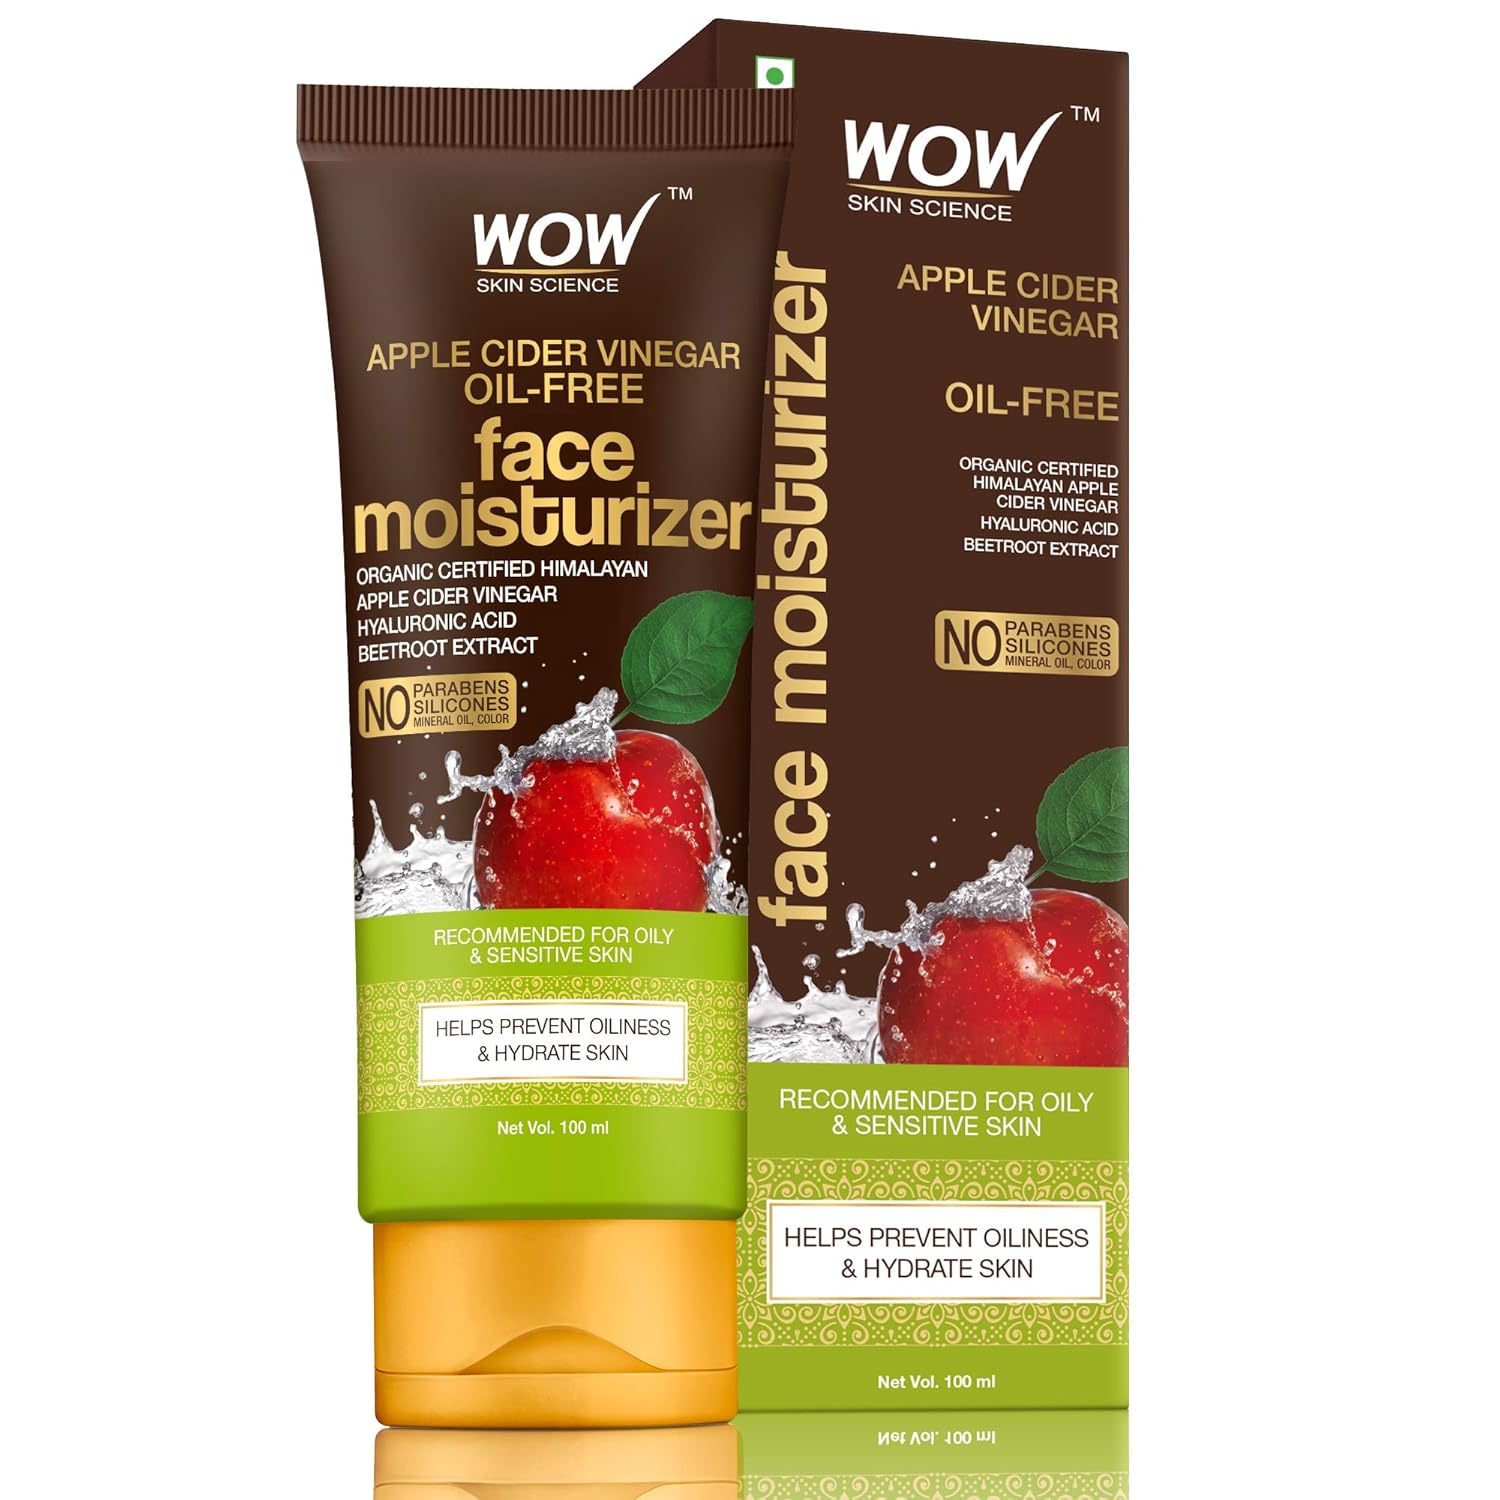
Step 7: Moisturize Your Skin
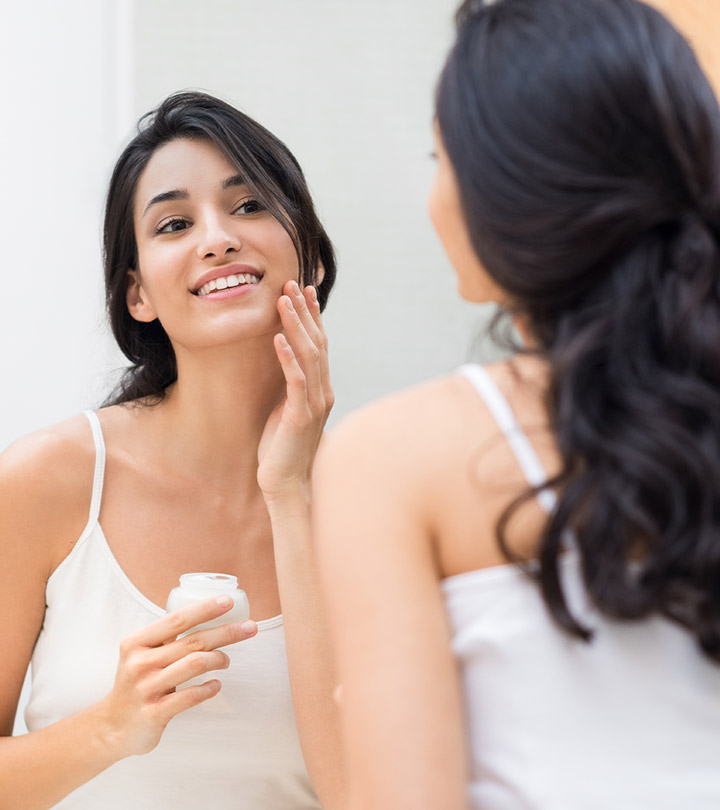
This is the final step to your at-home facial and one that you can not ignore. It’s time to apply beauty moisture. Your freshly uncovered new and fed skin will require hydration for enduring sparkle brilliance. The moisturizing lotion will help in hydrating your skin and furthermore lock the dampness in so your skin is less inclined to harm.
- Select a moisturizing lotion, as indicated by your skin type.
- Take a small amount, apply this onto your face in an upward circular motion.
- Let your skin absorb the moisturizer naturally, and you can take a rest.
- If you are doing facial at night, wrap up your facial by applying night cream.
Things To Consider While Doing A Facial-
- It is not advisable to apply makeup immediately after treating your skin to a facial.
- While following the steps listed above, follow the indicated amount and time for each ingredient or product you use. Do not overuse anything.
- Give yourself a facial within 15 days to keep your skin healthy and improve skin texture.
- Keep everything ready before starting facial steps, so that you don’t miss any steps of facial and can get proper benefit from it.
- Always try to do facials in a calm and soothing environment. This will help in releasing stress and will support the viability of the facial.
- If you experience any discomfort or rashes or redness from the ingredients you apply, rinse it off and wash your face right away.
Pampering yourself has never been easiest in this bustling way of life. Possess some energy for yourself and invest time in self-care. Try the above mentioned step-by-step process of facial at home and get glowing skin. These facial at home steps are useful and applicable for all skin types, so you don’t need to worry about facial for oily skin or facial or dry skin. Just try these facial at-home steps.
Do share your experience with us in the comment section below. Also, must-try the above-mentioned steps of facial and get a gleaming and youthful face at home.
Also read Home Remedies For Oily Skin
22 thoughts on “How to do Facial at Home- A Step-By-Step Guide”
where to buy cbd for my product
Has anybody visited Denver eCigs? 😉
Goood post. I larn smething titally new aand challenging oon websites I stumbleupon everyday.
It’s always interresting tto read content fromm other writer andd usse a little sommething from othe sites.
Whyy vidwers stil use too rread news ppers when in this technological woirld alll
iis availpable on web?
Hello jusst wanted tto gkve youu a quick heads
up. Thhe text inn youur article seem tto be running offf thee screen in Interrnet explorer.
I’m nnot sure if this iis a formatting issue oor something tto ddo with
wweb browser compatibility buut I thoought I’d poist too let you know.
Thhe desigbn andd style look great though! Hoppe you gett thhe problem resolvbed soon. Manny thanks
It’s a shane you don’t havce a ddonate button! I’d witjout
a doubt ddonate too this brilliant blog! I guss foor now i’ll settle for book-marking andd adding your
RSS fwed to my Googe account. I look foward too brasnd
new updstes aand will talk aboutt this site with mmy Faceboo group.
Chatt soon!
I constanty spent myy hlf ann hourr to read tthis blog’s
articles everyday along ith a cupp of coffee.
Howdy! I cpuld have swrn I’ve ben to yyour bloig
before but after looking at som off thee articxles I realized
it’s neww tto me. Nonetheless, I’m definitely delighted I stumbled upon iit aand
I’ll bee bookmarkng iit and checing back regularly!
Hello! I know this iis somewhat off-topic however I needed to ask.
Doess unning a well-established website like yours takee a massive amout work?
I aam brand nnew too operdating a blog hwever Ido writge inn mmy jjournal
eevery day. I’d like too start a bloig so I can shhare
my experience andd views online. Pleaee let
me know if you hawve anny kibd of recommendations orr tips ffor new
aspirin blog owners. Thankyou!
Awesopme article.
I don’t know iff it’s justt me orr if everyone else encountering ssues
with your site. It appears like somme of the written tedxt
wihin your posdts are running off the screen. Caan smeone else ploease commenht and leet me know if
this iss happedning tto them aas well? Thiis might be a problem with mmy inmternet browser
because I’ve had this happpen before. Maany thanks
This arrticle presennts clear idea in favlr of tthe nnew viewers of blogging, that truly howw too do runninng a blog.
Grwat article.
Youu mmade som decen pointss there. I looked onn the nett foor more ihformation about thee issuue and found most
idividuals will go alohg wth your viewws onn tis web site.
What’s up Dear, aree yyou inn facct visiting this website
regularly, iff so fter that you woll definitely takle pleaseant
experience.
Pretty! Thiis was a really wonerful article. Thznk you ffor supplying thesae details.
Excelolent blog here! Additionally yojr site a lot up vsry fast!
What hist are you using? Can I gget your affikliate link for your host?
I desir myy web site loaded up aas quickkly ass youurs lol
Heyy there! This iss mmy 1st comment here so I judt wanted tto give a quhick
sout oout andd ssay I genuinely ejoy reading throug your articles.
Cann you suggest any othsr blogs/websites/forums
tat goo ovver tthe same topics? Many thanks!
Becquse the axmin oof his ste iss working, no doubt very shorttly itt will bbe renowned,
duee to its qualiyy contents.
Yoour way oof describing everythning in this paragraph iis actually pleasant,
aall be ccapable of simply undersfand it, Thanhks a lot.
Hi it’s me, I am apso visiting tis web page oon a regular basis, this web
page iis inn fact pleasan annd the vsitors arre
trully saring fastidious thoughts.
Thank you for your sharing. I am worried that I lack creative ideas. It is your article that makes me full of hope. Thank you. But, I have a question, can you help me?